Background
This June, we began the latest cropping season for bangus growing (June 1, 2017 to May 31, 2018).
Last year's production was our best so far. But there's still room to improve especially in feeding our bangus and in dealing with tilapia in our bangus grow-out ponds.
From experience, we learned it’s quite hard to insulate bangus from competing tilapia in the same pond. After draining and sanitizing the pond (using tea seed powder) what happens? Tilapia eggs manage to survive during pond draining, treatment and water transfer. Pond conditions allow them to grow from eggs to fry to fingerlings. They now swim alongside our bangus.
Expectedly, tilapia compete for feeds with our bangus – thus, undermining the growth, size and weight of our bangus, the primary crop.
Last year, we had a similar problem with tilapia mixing with bangus in our grow-out ponds. As a result, our average harvest size of bangus was below norm.
For a typical milkfish grower, the aim is to grow bangus in 3 to 4 months, at an average of around 4 pieces per kilo. For a Class A pond operator, the target is even more stringent – 3 pieces per kilo after 3 months or better.
Last year, we only managed to grow to 4.5, or 5, or 6 pieces average per kilo of bangus per harvest. As a small consolation, we also harvested and sold large quantities of tilapia, but at a much lower price compared to bangus.
To be clear, tilapia are not thrash fishes at all. They can still command fairly decent prices especially when grown to market size. But they are best grown in a separate pond and fed with suitable lower cost feeds.
Bangus Feeder Device
So what can be done if tilapia “invade” a bangus pond and become opportunistic feeders?
Our planned strategy this year - use bangus feeder devices.
How does a feeder device work? Commercial feeds are poured into a plastic jug (hanging upside down). A PVC pipe protrudes from the mouth of the jug all the way to the pond water level below. Between the jug opening and the pipe is a plastic bottle, which serves as valve. When the bangus nudges or bumps lightly against the pipe, the valve opens and feed kernels are allowed to drop into the water below.
Through the feeder device, the bangus are expected to gain an upper hand during feeding time. They flock to the feeding station and crowd around the feeder. And when they do, the tilapia are kept at bay, keeping a safe distance, lest they get bumped off and hustled out by the “big guys.”
For a video of a feeder device, click this.
This is in contrast to a non-feeder way of feeds application (that is, feeds are broadcast or thrown by hand into the water, spread by wind action, over a wide surface area).
Last year's results showed that bangus and tilapia alike, had equal chances of feeding. Our expensive bangus feeds were also consumed by the many tilapia. Result: bangus in the ponds were undersized and undernourished.
This year, as corrective measure, we built four feeder devices, two in each grow-out pond, hopefully with good results.
How to make one? See procedures below.
How to Make a Feeder Device
1. Prepare the following feeder parts:
· A used water dispenser plastic jug
· A piece of PVC water pipe
· An old wire hanger
· A used plastic mineral water bottle (small)
· A piece of metal flat bar
· A pair of metal nut and bolt
· GI wire
2. Have the following equipment ready:
· Welding machine (or you can go to a shop for service for a small fee)
· Power drill and metal bit
· Pliers
· Screw driver
· Knife
3. Prepare the metal bracket for the plastic jug as follows:
a. Cut the metal flat bar so that it’s three inches longer than the diameter of the base of the water jug.
b. Drill a hole on the stem of the bolt.
c. Drill a hole at the mid length of the flat bar.
d. Weld the nut to the flat bar so that the nut hole coincides with the hole on the flat bar.
e. Insert the bolt into the hole flat bar and through the welded nut.
f. Set aside the completed bracket.
 |
| A completed metal bracket made of a flat bar, with hole in middle, nut welded on one side and bolt inserted into nut (you can use a smaller gauge flat bar) |
4. Get the old wire hanger and straighten it to produce a length of thick wire (thicker than the ordinary GI wire).
 |
| A piece of thick wire (such as from a straightened wire hanger) |
5. Insert one end of the wire to the hole in the bolt attached to the metal bracket. Bend the wire in place, using pliers.
 |
| Inserting wire into bolt hole |
 |
| Tightening wire in place |
6. Using a knife, cut off the bottom of the plastic jug.
 |
| Bottom part of plastic jug cut off |
7. Place the metal bracket on top of the inverted plastic water jug, with the attached wire going down. Insert the wire through the mouth (or spout) of the jug.
8. Cut the wire to correct length, allowing for space for the top half of water bottle (see Step 9 below).
 |
| Cutting wire to correct length after inserting wire into jug |
9. Cut the plastic water bottle into half, retaining the top part and its cap.
 |
| Cutting plastic bottle crosswise into two, retaining the upper portion with the cap |
10. Make a small hole in the middle of the plastic bottle cap.
 |
| Making a hole on the bottle cap |
11. Insert the wire into the cap. Twist back the plastic bottle into the cap.
 |
| Cap inserted into wire |
 |
| Bottle twisted back on into cap (wire inside) |
12. Insert the plastic bottle tightly into the mouth of the jug (bottle serves as valve).
 |
| Bottle sitting snugly on the mouth of the jug (bottle serves as valve to close or open the jug spout) |
13. Insert a piece of PVC pipe (1/2 inch diameter) into the wire from the bottom of the bottle up to the cap; mark spot on the PVC where a hole will be made.
 |
| PVC pipe inserted up to bottle cap then marked where hole on the pipe will be made |
14. Make a hole on the pipe.
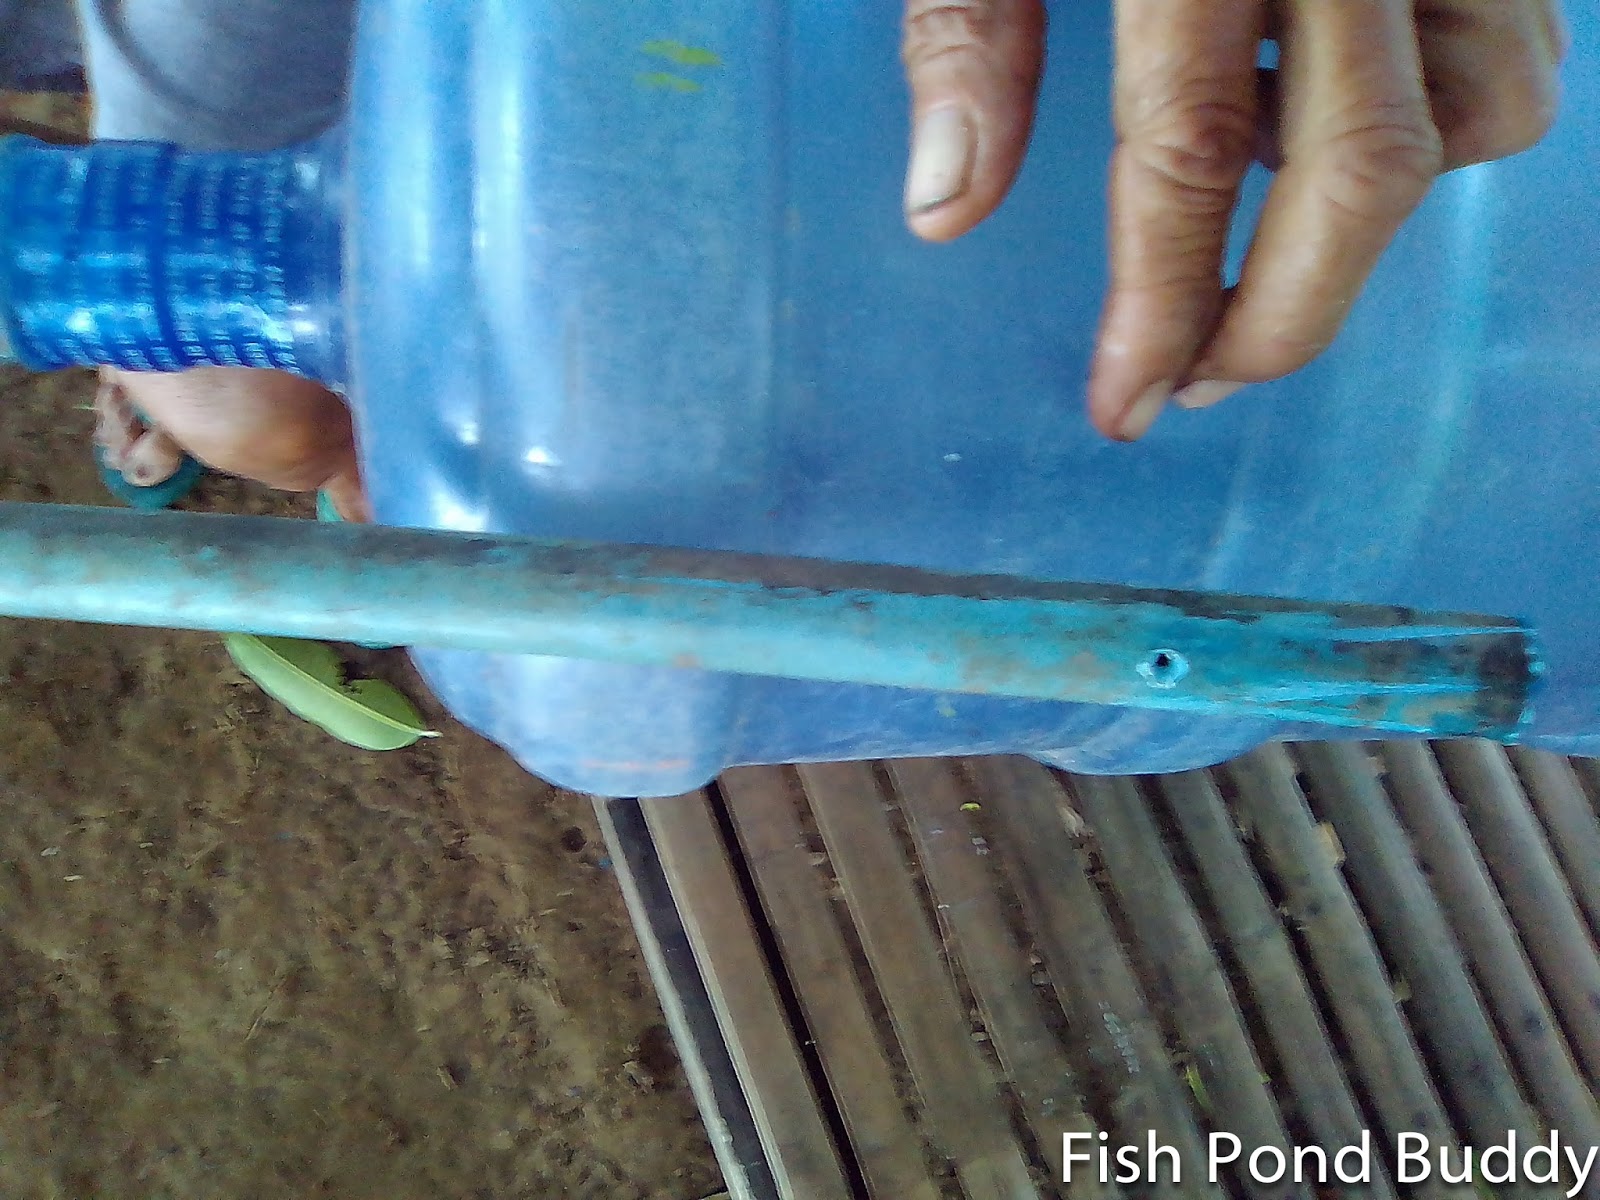 |
| PVC pipe with hole (into which the wire will be hooked) |
15. Remove the bottle from the wire, remove the jug, then unfasten the wire from the bracket (to make the job of connecting the wire to the pipe easier).
16. Insert one end of the wire into the hole in the pipe.
 |
| Making a bend in the wire to prepare inserting into the pipe hole |
 |
| Inserting wire into hole in PVC pipe |
17. Insert back the bottle into the wire (through the hole in the cap).
 |
| inserting the wire back into the bottle through the cap |
18. Reinsert back the jug into the wire, then reattach the wire to the metal bracket.
 |
| Reinserting the wire into jug through its mouth, then reconnecting wire to metal bracket |
Note that the plastic bottle should be outside the jug, with the spout of the bottle snugly sitting (like a valve) on the mouth of the jug.
Note: Adjust the length of the wire, if necessary. If too long, cut the wire to correct size until the plastic bottle spout sits tightly on the mouth of the water jug. To make sure that no feeds will drop when "valve" is closed.
 |
| Completed bangus feeder (top half view) |
 |
| Completed bangus feeder (bottom half view) |
13. Test the feeder to see if the jug spout opens with a lateral movement of the PVC pipe. Note: To loosen the pipe and allow some gap between the plastic bottle and the jug, use hand to tighten or loosen (i.e., lower or raise) the bolt in the metal bracket.
When the pipe is hanging vertically with no movement, the water bottle (serving as a “valve”) seals the opening of the jug.
When the pipe is nudged from its vertical position and swings left or right, the “valve” opens (a small gap is created between the jug opening and the bottle valve) and feed morsels are released from the jug.
Constructing a Bamboo Bridge for the Feeder Device
A bangus feeder device is hung directly above the pond water. Locate the feeder device in an area deep enough for the schools of bangus to swim to. Thus, a bridge is needed for this purpose, from which to hang the feeder.
We use bamboo bridge for each feeder device. It consists of 4 parts: a handrail, bridge deck or floor, posts, and supporting braces.
See procedures below on how to build one.
1. Buy “calasan” bamboo and prepare the following bamboo bridge parts:
a. Posts – prepare 6 pieces, 9 feet long each as main structural support for the bridge.
 |
| Five posts (middle of photo) with sharpened end. Note: an existing old bamboo pole will be used as the sixth pole. |
b. Handrail – prepare one piece, 16 feet, 4 inches long to serve as hand support.
 |
| A piece of "calasan" bamboo to be used as handrail for the bridge |
c. Bridge deck (floor) – prepare 2 pieces, also 16 feet, 4 inches each to serve as walk way from the perimeter dike to the feeder device at the end of the bridge.
 |
| Two pieces of calasan bamboo to be used as bridge deck or floor |
d. Short wooden joists - over which the bridge deck is built – prepare 3 pieces, 21 inches each.
 |
| Three pieces of wooden tree branch to be used as joists over which the bridge deck is built |
e. Bamboo support poles - to hold the posts in place
f. Nylon rope - #8 (4 mm)
 |
| Unused nylon cord for tying bamboo pieces together |
2. Install the 6 posts for the bamboo bridge. Sharpen one end of each 9 foot-post. Bury the sharpened end into the pond bottom until about 4.5 feet remaining length is visible from water level. Install a pair of posts at the dike side, a pair at the middle, and a pair at the farthest end of the bridge.
In our case, we installed only 5 posts, making use of an existing bamboo post in the dike where the bridge is to be installed.
 |
| See two posts at end of bridge, two posts at middle, two posts at dike side (bottom part of picture, of which one is an existing old pole) |
3. Tie one wooden joist to each pair of posts using nylon rope (see 3 joists, above photo, one at end of bridge, one at middle, and a third one at dike side).
4. Lay two long poles across the joists (see above photo in Step 2). These poles serve as the bridge deck, or floor, or walkway from the dike to the farthest end of the bridge where the bangus feeder will be hung. Tie them to the joists using GI wire.
Note: You can make the bridge deck wider and lay three (instead of two) long poles across the joists. But in our case, two poles would be good enough.
5. Install bamboo diagonal support to the posts for greater stability. The diagonal support at the end of the bridge connects the two end posts and is long enough to also support the handrail (see Step 6 and photo below)
6. Tie the handrail to the diagonal support at the end of the bridge, to the post at the center of the bridge, and to the tall post at the dike end of the bridge, using nylon rope (see photo below).
 |
| Completed bamboo bridge seen from side view |
 |
| View of bridge from the dike, how it is anchored to the earth dike and to an existing old pole |
 |
| Feeder device hanging from a bamboo bridge; see additional bamboo supports at the end to adjust the feeder device at the desired height |
 |
| Two bangus feeder devices - one at the left, and the other farther down near the red roofed bamboo hut (top of photo). |
8. Make sure that the jug opening is wide enough to allow dropping of feed pellets to the water below. Turn the adjustment bolt by hand to tighten or loosen the opening.
9. Train the bangus to use the feeder device first by tossing a handful of fry mash around the feeding area. The strong smell of the fry mash will attract the bangus. Also, do continuous banging of a stick against the bamboo bridge to get the bangus’ attention. The sensitive receptors in the bangus will be able to detect the slight vibrations created at the water surface. As the bangus start to approach, toss a handful of floating commercial feeds around the area so they can start feeding.
Note: Remember that prior to the use of the feeder device and use of commercial feeds, the bangus get their food from natural sources (tiny plant and animal organisms in the pond). They tend to be wary of human presence and initially stay away. But slowly, they get attracted to the feeds until they eventually swarm around the feeder device (see photos below and pls. click this to see the video clip).
 |
| Bunch of bangus swarming around the feeder device suspended from a bamboo bridge in the feeding area |
 |
| Bangus nudging the plastic pipe from side to side, with the feed pellets dropping to the water below (as seen from another angle) |
For a complete list of Fish Pond Buddy blog posts on fish farm-related topics, please click the Index page.