Pages

Monday, March 28, 2016

How to Catch and Clean a School of Mudfish Fry


How to Catch and Clean a School of Mudfish Fry


(Pls. click this to see related post on Fish Farmer vs. Mudfish ("Dalag"))

Recently, we were touring one of our ponds where tilapia are grown to market size. Two of my veteran pond workers, part of the harvest crew, were visiting at the time and joined us.

Luckily for me, they noticed a reddish orange patch-like mass in the middle of the pond that seemed to be moving. Rushing to get a closer look, they pointed to us the thousands of baby mudfish ("bulig" in Tagalog) swimming together near the surface.


A school of dalag fry swimming on surface; red orangish color faintly visible from afar

It was the first time I’ve seen such a bunch of tiny mudfish fry. They move together as a group at the surface in synch (same pace and direction). When approached, they all turned abruptly at the same time and moved away (as if under threat). The group has a distinct red-orange hue which can be viewed from afar. From a closer view, the red-orange color contrasts starkly with the greenish hue of pond water.


School of baby dalag more visible as they approach the side of the pond

Alerted by the presence of tiny young fry (which are potential deadly predators of our bangus and prawns), I quickly asked my workers to catch the entire shoal using our large sorting net (“saplar”). Also, rushed to get my camera to take some photos.

So, here’s how to catch and clean a school of young mudfish fry (“bulig”) in Tagalog.

Catching a Bunch of Young Mudfish Fry

1. Get a large sorting net (“saplar”)(see blue green net in photo below).

2. Go down the pond with the net near where the shoal is swimming (it takes two persons to do the catching). Note: the dalag fry swim slowly as a group so it does not take much to snare them.


Using a sorting net ("saplar") to catch the bunch of dalag fry

3. Insert one part of the net under water with the school of fish in the middle.

4. Pull the sorting net up while enclosing the school of fish; raise the net to prevent escape of fish.

5. Pull the net up and transfer the bunch of tiny fry in a plastic pail.


Transferring fry from net to plastic pail

 6. Remove grass, dirt, and other debris from the pail.


Removing grass, leaves and other debris from pail
A handful of young dalag fry scooped out of the pail
Newly caught bunch of dalag fry in a pail

Cleaning the Bunch of Fry 
  
7. Transfer the fish from the pail to a strainer. Pour water into the strainer. Let drip.

Dalag fry in strainer after pouring water; removing remaining debris

8. Transfer the fish from the strainer to a small plastic basin. 
 

9. Sprinkle the fish with salt and mash the pile of fish to mix the salt evenly.
 

Mashing the pile of fish with salt; see bottle of salt (upper right)
More salt added before mashing; salt aids in removing mucus and slime from the pile of fry

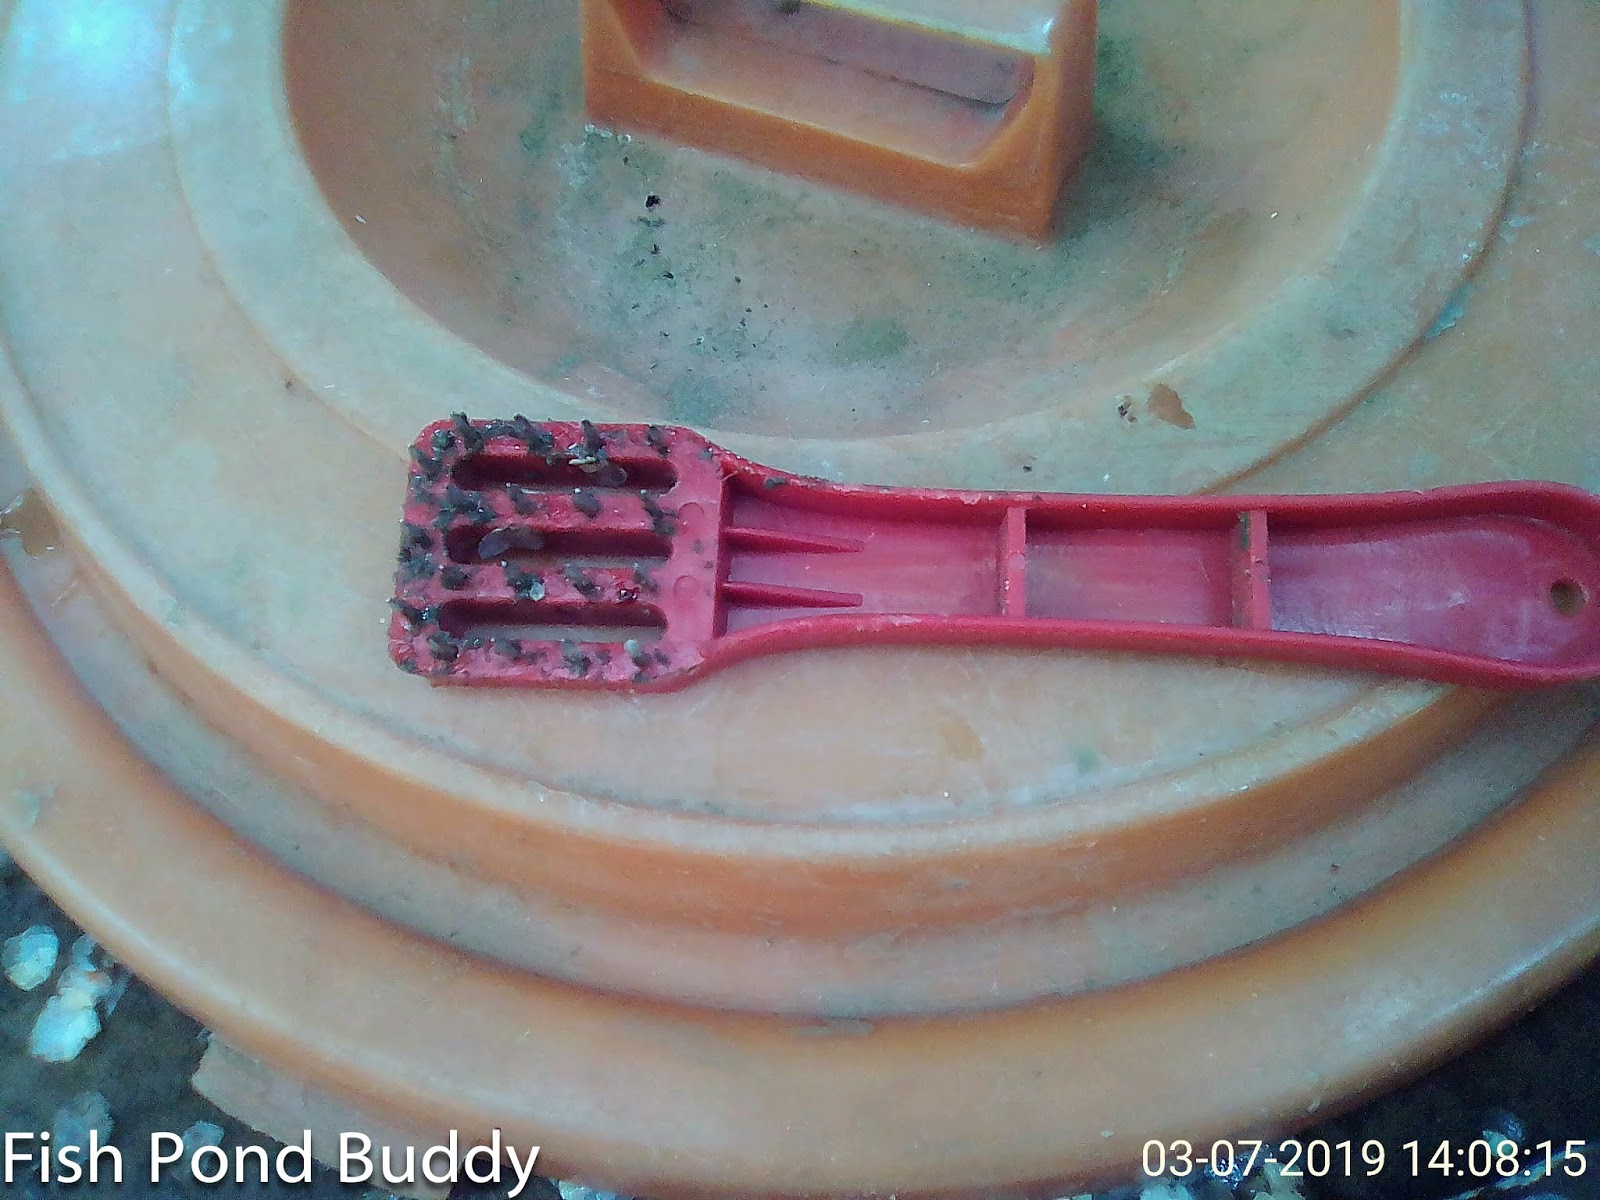
10. Using a piece of fine abaca net, rub the net against the fry and mash the pile of fish with it. This will allow the net to take out the mucus, slime, tiny scales off the fry. Wash the abaca net clean to be used again.

Scrubbing and mashing the pile of dalag fry using fine abaca net to remove mucus and tiny scales
 
11. Transfer the batch to the strainer, pour water and let drip.

12. Repeat Steps 7 to 11 three times until the bunch of fry is mucus-free and whitish in color. Set aside in another clean plastic basin.

This batch of cleaned dalag fry is now ready as main ingredient for cooking the local fish omelet or fish torta filipino. This is a mix of dalag fry with flour, salt, eggs, pepper, chopped garlic, chopped onion, a pinch of Magic Sarap seasoning (a popular local brand of flavor enhancer), Worcestershire sauce, and bit of water. Then shape the mix into patties and fry them into a crisp golden brown filipino fish omelet!

Eat with newly cooked rice. Or put in a bun, with sliced tomato, onion rings, and lettuce -  and you have a delicious fish burger!

For the procedure on how to clean the adult mudfish ("dalag"), pls. click this for the related post. 

For a complete lists of Fish Pond Buddy blog posts on fish farm-related topics, please click the Index page.

How to Clean Mudfish ("Dalag")


How to Clean Mudfish (“Dalag”)
(Pls. see related post on Fish Farmer vs. Mudfish (“Dalag”))

We recently caught some adult dalag during the complete draining of our Main Pond a few days ago. 

Here’s how two pieces of dalag were cleaned.

Two recently caught mudfish for cleaning

Removing Fins

1. First, stun the fish by hitting it on the head using a hard object such as a bolo knife.


2. Using scissors or bolo knife, cut off the dorsal (back) fin, pelvic (belly) fin, pectoral fins, and tail. Put in small plastic basin.

Cutting back fin
Cutting belly fin

 
Cutting pectoral fin


Cutting tail
Dalag minus the fins and tail

Removing Mucus/Slime from Body

3. From the basin, put the fish on the ground (preferably with sandy soil). Rub left palm on the ground soil then grasp the dalag with the soiled hand (without soil on palm, you'll find dalag too slippery with its thick mucus-covered body). 


4. While grasping the dalag in left hand, use a kitchen knife with the other hand to remove the scales from the tail toward the body.

Removing scales

If you have a fish scale remover, use it to remove the scales.

A fish scale remover with handle (available in public market)


Removing scales


5. Rub the right palm on the ground with soil and move the soiled palm along the dalag’s body starting from the head. This will remove the thick mucus coat from the fish body. Put the fish back in basin.

Note: Experts say that the thick coating of mucus protects the mudfish against infection and desiccation (drying) and helps it to breath through its skin.


Rubbing soil along body to remove mucus

6. Find a rough cement floor which you can use as cleaning area. Scrub and wash the surface. 

Washing clean a rough cement surface in work area

7. Remove the fish from the basin and wash it clean.

8. Holding the body with both hands, rub or scour the fish against the rough cement floor surface. This will remove the mucus and also the black spots from the body. 


Rubbing dalag against rough cement surface to remove body mucus and black spots

9. Pour water on the cleaned body and put the fish back in plastic basin.


Pouring water on the rubbed fish
 Dalag scoured clean (bottom) and other dalag not yet rubbed clean (top)

Slicing the Fish

10. Slice the tummy open from the tail up to the jaw.

Slitting the tummy from tail to jaw

11. Remove the intestines. Note: In case dalag is female, full of eggs and ready to spawn, remove also the fish eggs and set aside.


Exposing intestines after slitting tummy; see fish eggs inside
Removing intestines

12. Cut off the maxillary bone (jaw) from the head of the fish. 

Cutting off maxillary bone to make removal of gills easier

13. Pull out the gills (“hasang” in Tagalog), which are connected to the intestines, from the head and set aside as fish thrash.


Removing gills
Dalag gills and intestines removed as shown

14. Cut off part of the head (about one inch from the tip of the mouth).


Cutting off part of dalag head

15. Pour water on the fish and remove blood and other remnants from inside the fish body using knife.


Removing blood and other remnants inside body using knife

16. Remove the inner white skin attached to the jaw. Use scissors or pull the skin by hand from the jaw sideways.


Removing skin attached to jaw

17. Remove inner skin from the roof of the mouth.
Removing skin from roof of mouth

18. Remove any remaining skin portions from the fish mouth.

Removing other skin portions from mouth
Removing blood and other remnants using thumb

19. Wash the fish clean on the plastic basin; remove any traces of blood from the head, then soak in water. Pour clean water and wash thoroughly until clean.


Two pieces of thoroughly cleaned dalag ready for cutting

Cutting into Pieces

20. Cut lengthwise to divide the body into two.


Cutting body into two halves lengthwise

21. Take a half piece and cut across to get several serving pieces. Do the same for the other half.


Two halves of dalag cut lengthwise ready to be cut into pieces for cooking

22. The cleaned and cut dalag fish is ready to cook (see photo)!

Dalag cut into pieces for cooking, including fish eggs (orange)

For a complete list of Fish Pond Buddy blog posts
on fish farm-related topics, please click the Index page.
 

Fish Farmer vs. Mudfish ("Dalag")


Fish Farmer vs Mudfish (“Dalag”)

A fish farmer can’t afford to relax because he's engaged in a constant “battle” with “enemies” – nature, human intruder, and predators.

One formidable foe is the ubiquitous mudfish (“dalag” in Tagalog; “gele-gele” in Pangasinense; chana striata, scientific name), a voracious predator of bangus fingerlings and white prawns.


Newly caught dalag in tub filled with water

Dalag in tub

Dalag is a freshwater fish that can be found anywhere where there is standing water (such as swamps, marshes, irrigation canals, rice fields, and ponds). They thrive during rainy days.
 

They have this incredible ability to survive even during the peak of the dry months in the Philippines (March to May) when shallow ponds and rice fields dry up. At the worst of the dry season (even during El Nino), when water level drops to zero in most places, the mudfish go into the remaining tiny pockets or crevices of shallow water and mud protected from the sun by vegetation

Using their hard flattish head, they dig deep or burrow under the mud, soggy soil, or wet tree/plant roots, surviving by being inactive or dormant. Just like a fish that hibernates, with a lowered metabolic rate, while waiting for the rains to come.

And when the rains do come, the mudfish kick into motion and become active as if nothing happened. They start to swim, eat, and later breed and lay eggs.

In our farm village in Binmaley, Pangasinan in northern Philippines, our brackish water fish farm is surrounded by fresh water tilapia ponds. During rainy season, when water level rises in the nearby ponds, dalag can be seen wriggling their way on land to move from pond to pond. We can see them (usually at night) near our farm house especially while raining or during a storm. They move in a sideways motion (similar to a sidewinder snake) on the ground until they reach our brackishwater ponds.

When they do, they can cause a lot of damage by eating the milk fish (bangus) fingerlings and young white prawns in the ponds.


A newly caught large dalag that has just swallowed a pre-market size bangus

Knowing how dalag behaves is easier, but fighting it is another matter. There’s only so much we can do to control if not fully eradicate them.

Some of the ways are:

· Catching them using a local trap called “paturaw” in Pangasinense (a short stick with short nylon string and hook using a frog as bait. The stick is inserted at the lower part of dike with the line and bait hanging below water level),

· Physically removing them during pond draining (“limas”). Please click this on how to do “limas”,

· Taking them out during harvest using seine net (“kalokor”). Pls. click this and go to the section “How to Harvest Bangus”,

· Catching a school of young dalag fry swimming on the surface using a large sorting net (pls. click this for the related post on "How to Catch and Clean Mudfish Fry",


A school of young dalag fry (reddish orange hue) swimming near surface of water
Using a sorting net ("saplar") to catch the school of young dalag fry

· Catching adult mudfish using a gill net (“tabal”) (pls. click this on how to use tabal), and


Catching dalag using gill net ("tabal"); see the white colored floaters that keep the net afloat at the surface; bottom of net is pulled down by lead sinkers

· Poisoning their habitat during pond preparation (using tea seed, tobacco dust, or chemical).

Yet, after doing all these things, we still see them at the end of the cropping year when we do pond draining ("limas").

So in the end, if you can’t beat them, just eat them.

But first, we need to know how to clean dalag before we can cook and have them for lunch or dinner. 


Please click this for the related post on How to Clean Mudfish (“Dalag”).

For a recent video on how one pond worker caught three pieces of mudfish ("dalag") that invaded a recently sanitized bangus pond, please click below.


For a complete list of Fish Pond Buddy blog posts on fish farm-related topics, please click the Index page.

Saturday, March 19, 2016

How to Grow and Harvest Vannamei Prawns


How to Grow and Harvest Vannamei Prawns

In our fish farm in Pangasinan, we grow what the locals call “vannamei” in addition to milkfish ("bangus"). Vannameis are part of the shrimp/prawn family which includes the more famous tiger prawn (Penaeus monodon). Vannameis are more correctly called Whiteleg shrimp or Pacific white shrimp because of their transluscent white body. Scientists used to call it Penaeus vannamei (old name), and recently as Litopenaeus vannamei (new scientific name).


A number of fully grown tiger prawns (penaeus monodon) taken out after complete draining of one of our ponds. These are part of a few samples of tiger prawns given by a dealer for free several months ago. From post larvae, they grew up into adults shown in the photo. We were actually surprised they survived.
Freshly caught vannamei shrimps/prawns from one of our ponds using the shrimp net trap described in this post
Crustaceans like tiger prawns and vannameis are bottom feeders and stay at the pond bottom. They dive deep into the sediments or muck at the bottom to escape predators and rely on the organisms at this substrate layer for their food.

From experience, we learned that growing vannameis in polyculture with (i.e., grown together with) our home-grown bangus is more advantageous to us pond operators/owners. They add to our revenues and help increase the productivity of our ponds, with minimal increases in costs.

Vannameis are now the most farmed species globally. But why not grow the tiger prawns instead, which command a higher selling price per kilo? We did in our closed system ponds when we were just starting, but unfortunately with very discouraging results (very low survival rates).

For comparison, tiger prawns (“sugpo” in Tagalog and “bingalo” in Pangasinense) are more sensitive to water quality (that is, they demand higher quality). Vannameis are less so and can be produced in closed system ponds like ours. In Class A ponds, they can be grown in higher stocking densities (intensive environment).

Tiger prawns require a costlier feeding regimen since they need high protein feeds. In the case of vannameis, they have lower needs for proteins. In fact, in our ponds where vannameis are grown extensively, they can make do with the natural food in the pond.

Vannameis are more resistant to various diseases, compared to tiger prawns. Thus, survival rate for the latter tends to be quite low, whereas vannameis have been enjoying much higher survival rates in recent years.

Vannameis can grow as fast as tiger prawns but when they reach 20 grams apiece, the vannamei’s growth rate slows. However, tiger prawns can grow to a large size, thus commanding a higher selling price at the Dagupan fish center.

The above comparisons between tiger prawns and vannameis are not mine, but were drawn from conclusions made by the FAO’s Fisheries and Aquaculture Department.

As a layman-farmer, my own actual experiences (though limited) however, are consistent with these observations.

But to be sure, it’s best to choose suppliers who sell only SPF (specific pathogen free) vannamei stock. According to experts (FAO, SEAFDEC, BFAR), SPF vannameis are certified free from six known shrimp diseases. It’s no guarantee that they won’t get infected in the future, but right now, the odds are stacked in our favor.

For the list of accredited suppliers, refer to the Bureau of Fisheries and Aquatic Resources (BFAR)’s On-Line Info System. For us fish farmers from Binmaley, Pangasinan, there is one located in Bonuan Gueset in nearby Dagupan City.

Vannameis are usually stocked in our ponds at the start of the cropping year after the ponds are cleaned up. Ponds where the vannameis are released have undergone the usual preliminary activities during pond preparation (click this to see the step-by-step procedures on how to prepare the pond).

Vannameis for growing are usually purchased as post-larvaes (usually PL-10 to 15). From hatching in a hatchery, it takes about 25 days to produce a PL-15. Upon receipt of the stock from our dealer, we keep them first in a large "saplar" (or sorting net) and feed them with boiled egg yolk and oyster meat. After 2 weeks, the vannameis are released into the ponds.

We follow the stocking density for extensive system of 4 to 10 pieces per square meter. After 4 months, we can do initial harvesting when the vannameis reach about 11 to 12 grams apiece.

How to Harvest Vannameis in Ponds

We normally do a thorough harvesting of our vannameis (or what remains of them to be exact) during the end of our cropping year – using the complete drain method (“limas”) (for the related blog post on how to do pond draining (“limas”), click this.)

Note: In Class A and B ponds, vannameis are harvested by draining the pond at low tide through a bag net installed at the outlet gate, either through the natural flow of outgoing tide water or with the help of a water pump.

During intervening months, when we harvest our bangus, we do catch a number of vannameis that are entangled with the bangus, using the usual haul seine net method (“kalokor”). Click this and go to the section "How to Harvest Bangus" to give you an idea of how it is done.

But for harvesting of vannameis specifically, we also do cull-harvesting of subadult vannameis, and later, even adults (around 20 gram weight per piece), using a shrimp trap device that I discovered recently – the so-called “bubo” in Pangasinense or extended shrimp net trap (it looks roughly like a large accordion net).

How do we do it? Below are the step-by-step procedures.

1. Buy or rent “bubo” trap. You can buy at Lingayen market at Php2,000 to 3,000 per piece.

2. For bait, buy half a kilo of salted dried fish (“tuyo”).

3. Also for bait, pick a fallen brown mature nut (“niyog”), cut out some pieces (meat with shell) and roast them over fire.

4. Spread out the “bubo” net trap to its maximum length. Make sure that both ends of the trap are closed by tying with string to later prevent escape of trapped vannameis.

A "bubo" shrimp net trap fully stretched out and being checked out by my caretaker and aide. We borrowed this trapping device from my harvest workers the first time we used one.
 
Our own "bubo" net trap fully stretched out
5. Attach the baits (salted dried fish and roasted coconut meat on shell) on every other compartment in the “bubo” net trap.


A piece of roasted coconut meat in shell ("niyog") (above) and a piece of salted dried fish ("tuyo") (below) as baits
6. Refold the trap and place it in a plastic basin.

Net trap being folded after placing the baits inside
 7. Take the trap in basin to the targeted pond and choose the specific location for the trap.

"Bubo" net trap folded in plastic basin by the side of the pond, ready for set-up

8. Use two pieces of bamboo poles or stakes (“onoon” or “tulos”) and tie each end of the net trap to a bamboo pole.

Tying one end of the trap to a bamboo pole or stake; other bamboo pole is for the other end of the trap

9. Go down the pond and insert one bamboo pole (to which one end of the net trap is tied) into the pond bottom near the side of the pond. The pole is used to hold down the net at the bottom.

One end of the net trap being held in place by a bamboo pole

10. Unfold the rest of “bubo” net trap slowly, stretching it to its full length by moving the basin farther down along the side of the pond. 
Rest of the trap being unfolded and stretched to the other end; see first bamboo pole holding down the trap at left of photo

11. Plant the second bamboo pole (to which the other end of the “bubo” net trap is tied) at the pond bottom when the net is fully stretched.
Preparing to set up the second bamboo pole to hold down the other end of the net trap

Note: The “bubo” net trap must sit right on the pond bottom to allow entry of the vannameis into the trap, as they are lured by the baits. Remember that the vannameis are bottom feeders and stay at the benthic (bottom) layer of the pond.

12. Leave the trap at the site and wait for 4 hours.

13. Retrieve the trap by the doing Steps 9 to 11 in reverse. That is, pull out the second bamboo pole. Refold the trap (with the vannameis inside) in the basin. Wade toward the first bamboo pole and pull it out. Then put the entire trap with the catch in the basin.

14. Have a weighing scale ready. Make sure that enough quantity of crushed ice has been purchased and on stand by.

Note: The ice will prevent onset of melanosis (blackspot discoloration in shrimps that can turn off buyers and bring down selling price) and ensure that the quality of vannameis is maintained before and during sale at the fish center.

15. Untie both ends of the net trap. Shake out the “bubo” net to dislodge the trapped vannamei prawns. Unload the vannameis into the plastic basin. Count the number of pieces caught and get total weight in kilos. Divide total kilos by number of pieces to get the weight per piece in grams.


Retrieved net trap being untied at both ends
Vannamei prawns being dislodged into the plastic basin by shaking them loose from the net trap


Vannamei prawns caught using "bubo" net trap

16. Repeat Steps 4 to 15 to do a second harvest. Make sure to choose a different pond or location (if trapping is done in the same pond). 

For a complete list of Fish Pond Buddy blog posts on fish farm-related topics, please click the Index page.